Please NOTE: This document assumes that you already have Raspian OS installed and running on your Raspberry Pi.

— TFTP on the Pi is installed from a Terminal command line —
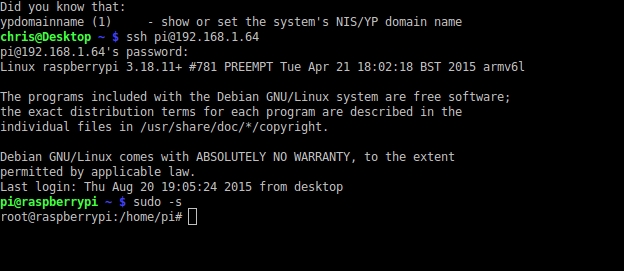
# – With your Raspberry Pi on your local network ssh into it and enter into root access.
$ ssh pi@192.168.1.64
pi@raspberrypi ~ $ sudo -s
# – After gaining ssh access to your Pi install the xinetd tftp package.
root@raspberrypi:/home/pi# apt-get install xinetd tftpd tftp
# – Create a file called /etc/xinet.d/tftp
root@raspberrypi:/home/pi# touch /etc/xinetd.d/tftp
# – Update your tftp file to include the tftp settings.
root@raspberrypi:/home/pi# nano /etc/xinetd.d/tftp
— add the following lines to the tftp file —
service tftp
{
protocol        = udp
port            = 69
socket_type     = dgram
wait            = yes
user            = nobody
server          = /usr/sbin/in.tftpd
server_args     = /tftpboot
disable         = no
}
# – Save the file with shift+x and type Y to except changes
# – Make the directory you set in the tftp file on the Pi where you will store IOS images.
root@raspberrypi:/home/pi# mkdir /tftpboot
# – Make /tftpboot writable
root@raspberrypi:/home/pi# chmod -R 777 /tftpboot
# – Change ownership of tftp file
root@raspberrypi:/home/pi# chown -R nobody /tftpboot
# – Stop and start the xinetd service
root@raspberrypi:/home/pi# /etc/init.d/xinetd stop
root@raspberrypi:/home/pi# /etc/init.d/xinetd start
— Now we can test our tftp server —
# – Create a file on the server
root@raspberrypi:/home/pi# ls /> /tftpboot/test
# – Make the file writable
root@raspberrypi:/home/pi# chmod -R 777 /tftpboot
# – Verify file now exists
root@raspberrypi:/home/pi# ls /tftpboot/test -lh

— Now we can move to our desktop and test the server —
# – Start tftp and connect to Raspberry Pi tftp
$ tftp 192.168.1.64
# – Get the test file
tftp> get test
tftp> quit
# – check that test file is now on Desktop.
$ ls test -ln

